With the primary bevel ground to 25°, I started honing. This first honing step uses 40 micron abrasives and corrects any errors in grinding.
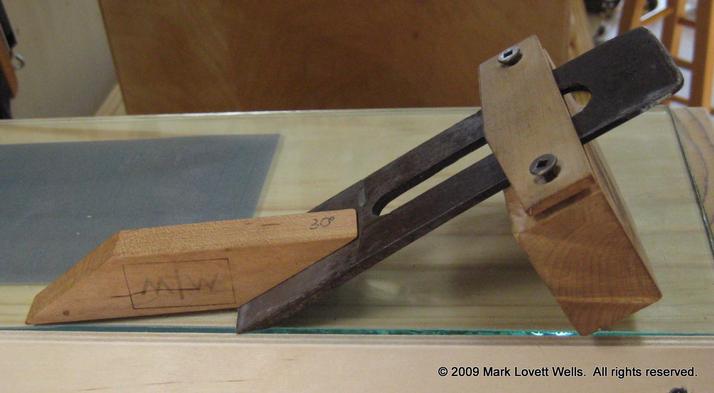
I use a homemade honing jig. The jig rides on the glass. I set the first honing angle to 29° or 30° using the block of wood shown in the picture. I place the angle setting block on the glass and hold it down to the glass with my left hand. My left thumb holds the iron in place at the angle. My right hand guides the jig down into position. I try to line up the point at the top of the jig with the slot in the iron. With everything in position, I squeeze the top jaw of the jig down on the blade and tighten the screws. I try to tighten the screws so the top jaw bends very slightly.
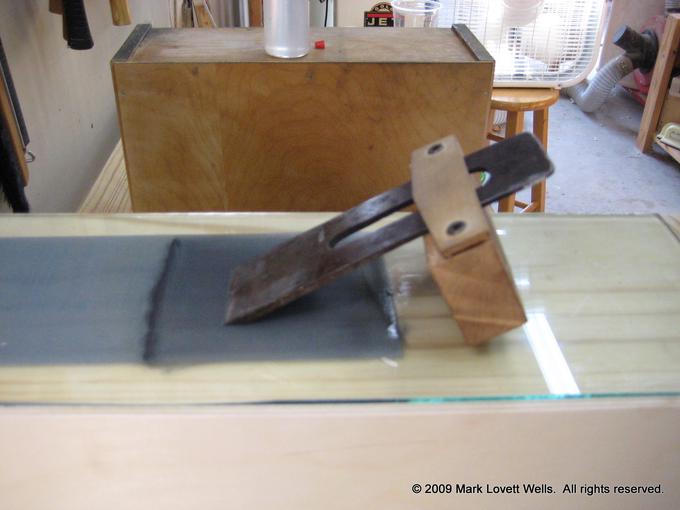
With the honing guide setup, I pulled out the glass with 40 micron abrasive on it, put some baby oil on the abrasive and started sliding the jig back and forth. I try to use a full stroke of the jig. Remember that the jig rides only on the glass.
To hold the jig, I put the thumbs of both hands on the back of the jig and fingers of both hands near the blade’s edge. I push and pull when sharpening like this. I use moderate pressure.
After honing a while, my abrasive looked like the picture above. The bevel looked like this.
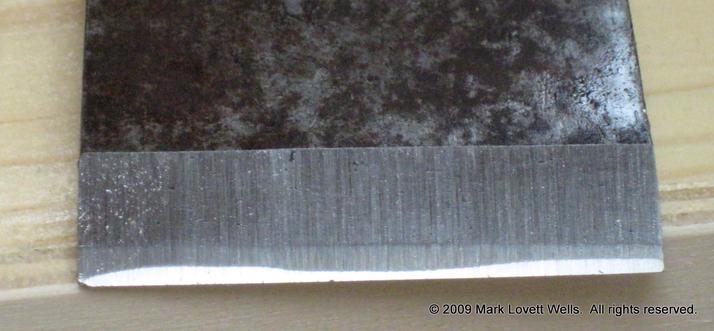
The shiny part is what I honed. It goes all the way across the bevel. The shiny section is wavy because of my inaccurate grinding. I thought I might be done, so I did two more tests.
First, I felt for a wire edge. The 40 micron abrasive usually raises a significant wire edge when the bevel meets the back of the blade. When I run my finger perpendicular to the edge from the back side, I can feel the wire edge catch the ridges of my finger prints. With this blade, I could feel the wire edge on one side, but not the other.
For the second test, I tried to make the edge reflect light. When I did that, one side would not reflect light and the other would. An edge that reflects light is a very dull edge.
Both of these tests showed that I was not done. I went back to the honing and put more pressure on the side that needed more work. I kept at it until both tests passed. At the end of that process, the bevel looked pretty much like the bevel above.
Remember to focus on how the edge looks, not just on how the bevel looks!
