Building upon the excellent work done by Brent Beach, I designed this sharpening jig for Scary Sharp. Beach made two key observations about the honing guide used in Scary Sharp:
- If the honing guide rides on the glass rather than the abrasive, then the honing guide can be a simple block of wood.
- If the top of the honing guide is very thin, then a small back bevel can by applied to the edge by simply flipping the jig over. Using a back bevel eliminates the need to flatten the back of a blade.
Beach’s system works. I made two improvements:
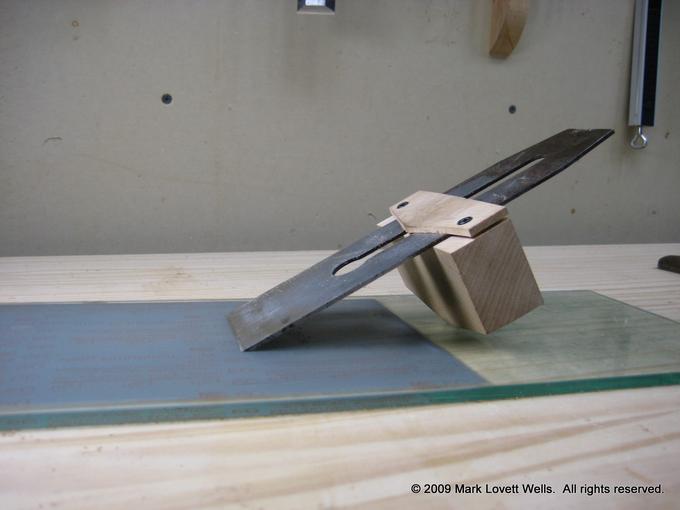
- The bottom of my jig comes to a point near the center of its width, so the jig does not have to be squared to the blade. (I thought this idea was original until I re-read that book Planecraft and saw that Record used to make a jig with a single ball bearing as the point of contact with the stone.)
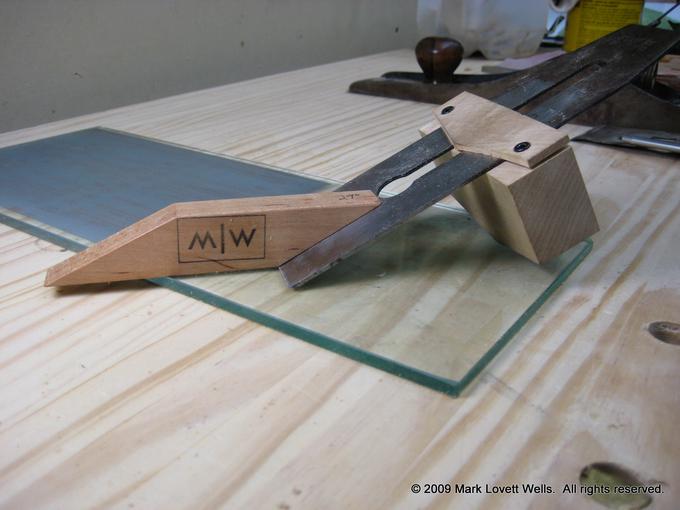
- I set the projection of the blade using a block of wood, angled at 29°. Beach uses a combination square. My method does not require knowing the thickness of the blade nor the height of the jig. (I have seen this method published other places. I did come up with it own my own, but it’s not really “mine.”)
I have been using this jig for months and have taught other people to use it. I am convinced it works well and is easy to learn. The jig above is hard maple. Wear of the point is not a significant issue.
My jig is based on Beach’s simplified honing jig. I followed Beach’s instructions except I used #8 square-drive wood screws rather than machine screws. The screws seem to work fine.
My jig started out square. Then I cut the bottom and top to a point.
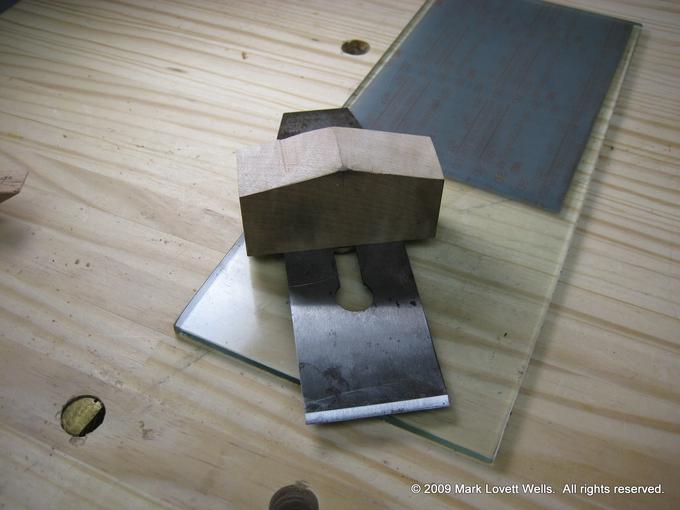
The bottom point can easily be shaped with hand tools. Beach’s design requires that the block be an accurate thickness. (More precisely, the edge that rides on the glass should be parallel to the plane that forms the top of the block.) On my jig, I marked a center line, sawed the angles roughly, and then cleaned them up with a chisel.
With the bottom point done, I cut the top point.

I tried to make the top point line up with the bottom point.
To use this jig, the blade must first be ground relatively square. It does not have to be perfectly square, but it should be close. This jig will follow whatever shape the grinder left, naturally averaging out the peaks and valleys that resulted from grinding.
With the blade square, I hold the wooden angle setter (the “MLW” brand below) with with my left hand. My left thumb holds the blade against the wooden angle. With my right hand I manipulate the jig to bring it just in contact with the glass. Then I squeeze the top and bottom pieces together, holding the blade firmly. I pick up the jig and tighten the screws.
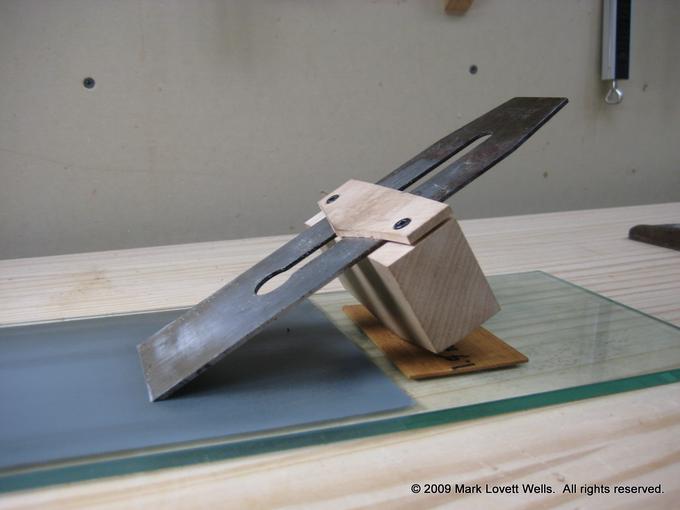
Since the jig is riding on a single point, it does not have to be perfectly square to the blade. I square the jig to the blade by eye. I also try to get the point in the middle of the blade, again by eye by placing the top point in the middle of the blade’s slot.
From then on I use Beach’s method. Like Beach, as I move to finer abrasives, I use small wooden “slips” under the jig to raise the angle slightly.
I find that it is easy to maintain consistent pressure on the left and right sides so the blade will come out straight. I find this jig also works well for putting a slight or large camber in an edge.
This jig is simple to make. I suggest trying it out. If you try it, let me know if you like it or not.
