After correcting any grinding errors with the 40 micron abrasive I was home free. I started honing with the 15 micron abrasive. I applied baby oil to the abrasive and honed at the same angle as the 40 micron abrasive. This step removes the scratches from the 40 micron abrasive. It just takes a few strokes.
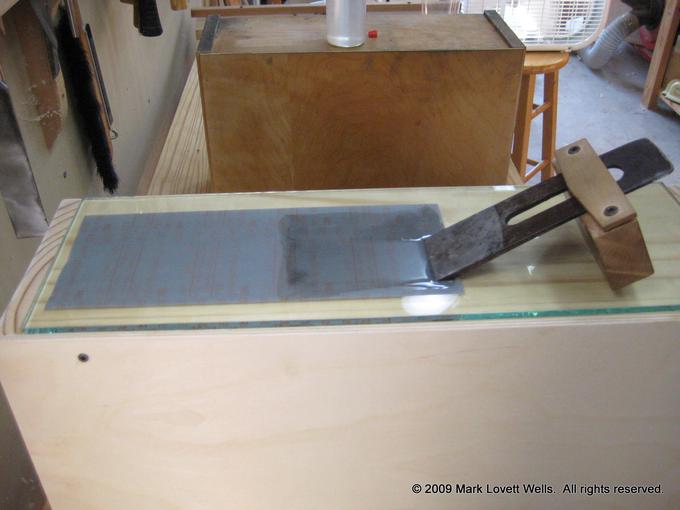
The picture above demonstrates something to look for. As I pull the blade toward me, the blade clears the abrasive of baby oil. The pattern left in the wake of the blade tells me exactly where on the blade that abrasive is cutting.
Similarly, if I am honing at the edge, then filings will pile up at the forward most point of the stroke. You can see those filings above.
Camber
When preparing a blade for a jointer plane, I hone a camber in the edge on the 15 micron abrasive. I use the technique described by Christopher Schwarz. I move all my fingers to one side of the blade and hone for about 5 strokes. Then I do another five strokes with my fingers on the other side. Next I do two or three strokes on each side, about half way between the side of the blade and center of the blade. That produces a nice camber.
Experiment with different numbers of strokes to produce different amounts of camber. As you are producing the camber, use the wake of the baby oil to confirm that the abrasive is cutting in the right place on the blade.
With the 40 micron scratches gone and the camber defined, I was done with this step.
