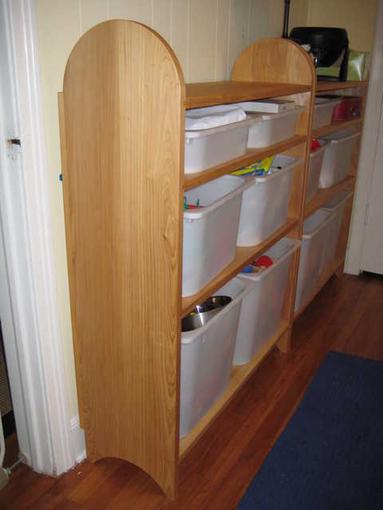
I made these shelves for my son’s room to hold his toys. I got the original idea from the Shaker Workshops catalog, but I made a few modifications. I really like the way my shelves are graduated, smaller at the top and larger at the bottom. Also, the Shaker Workshops design has a flat spot in the bottom curve where the bottom shelf intersects the curve. I prevented the flat spot by making the radii of the top and bottom curves the same.
My mom and sister suggested adding the top shelf to the design and I’m really glad I did that. It hides the clutter in the bins and gives us a place to set things down when we walk in the room.
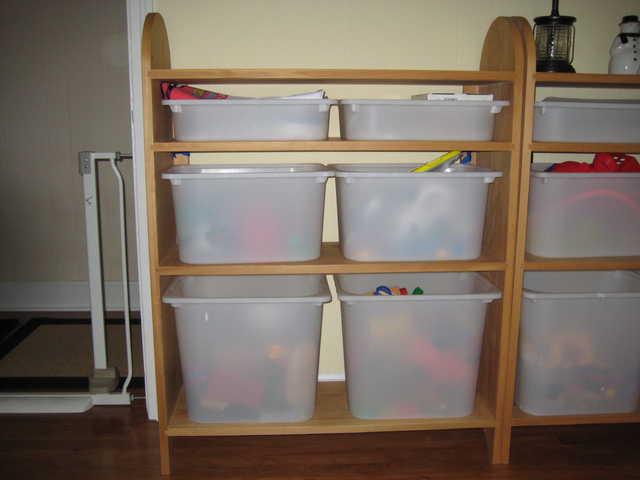
The bins are from the TROFAST system at IKEA. They are perfect for this application: inexpensive, lightweight, and sturdy.
Construction
The wood is cypress. The finish is one coat of Wipe-On Poly. The shelves are attached to the uprights using sliding dovetails. This was my first project with sliding dovetails. They are incredibly strong! The dovetails, along with the narrow strips attached to the uprights and shelves, prevent the need for a solid back. I plywood back would have been stronger, but I think this looks better.
Measured Drawing
If you would like to build one for yourself, e-mail me and I’ll send you a measured drawing.
